Published April 15, 2026 04:01AM
If you buy through our links, we may earn an affiliate commission. This supports our mission to get more people active and outside.Learn about Outside Online's affiliate link policy
How to Make Your Sleeping Bag Last Forever
Regular maintenance will keep your camping nest clean.
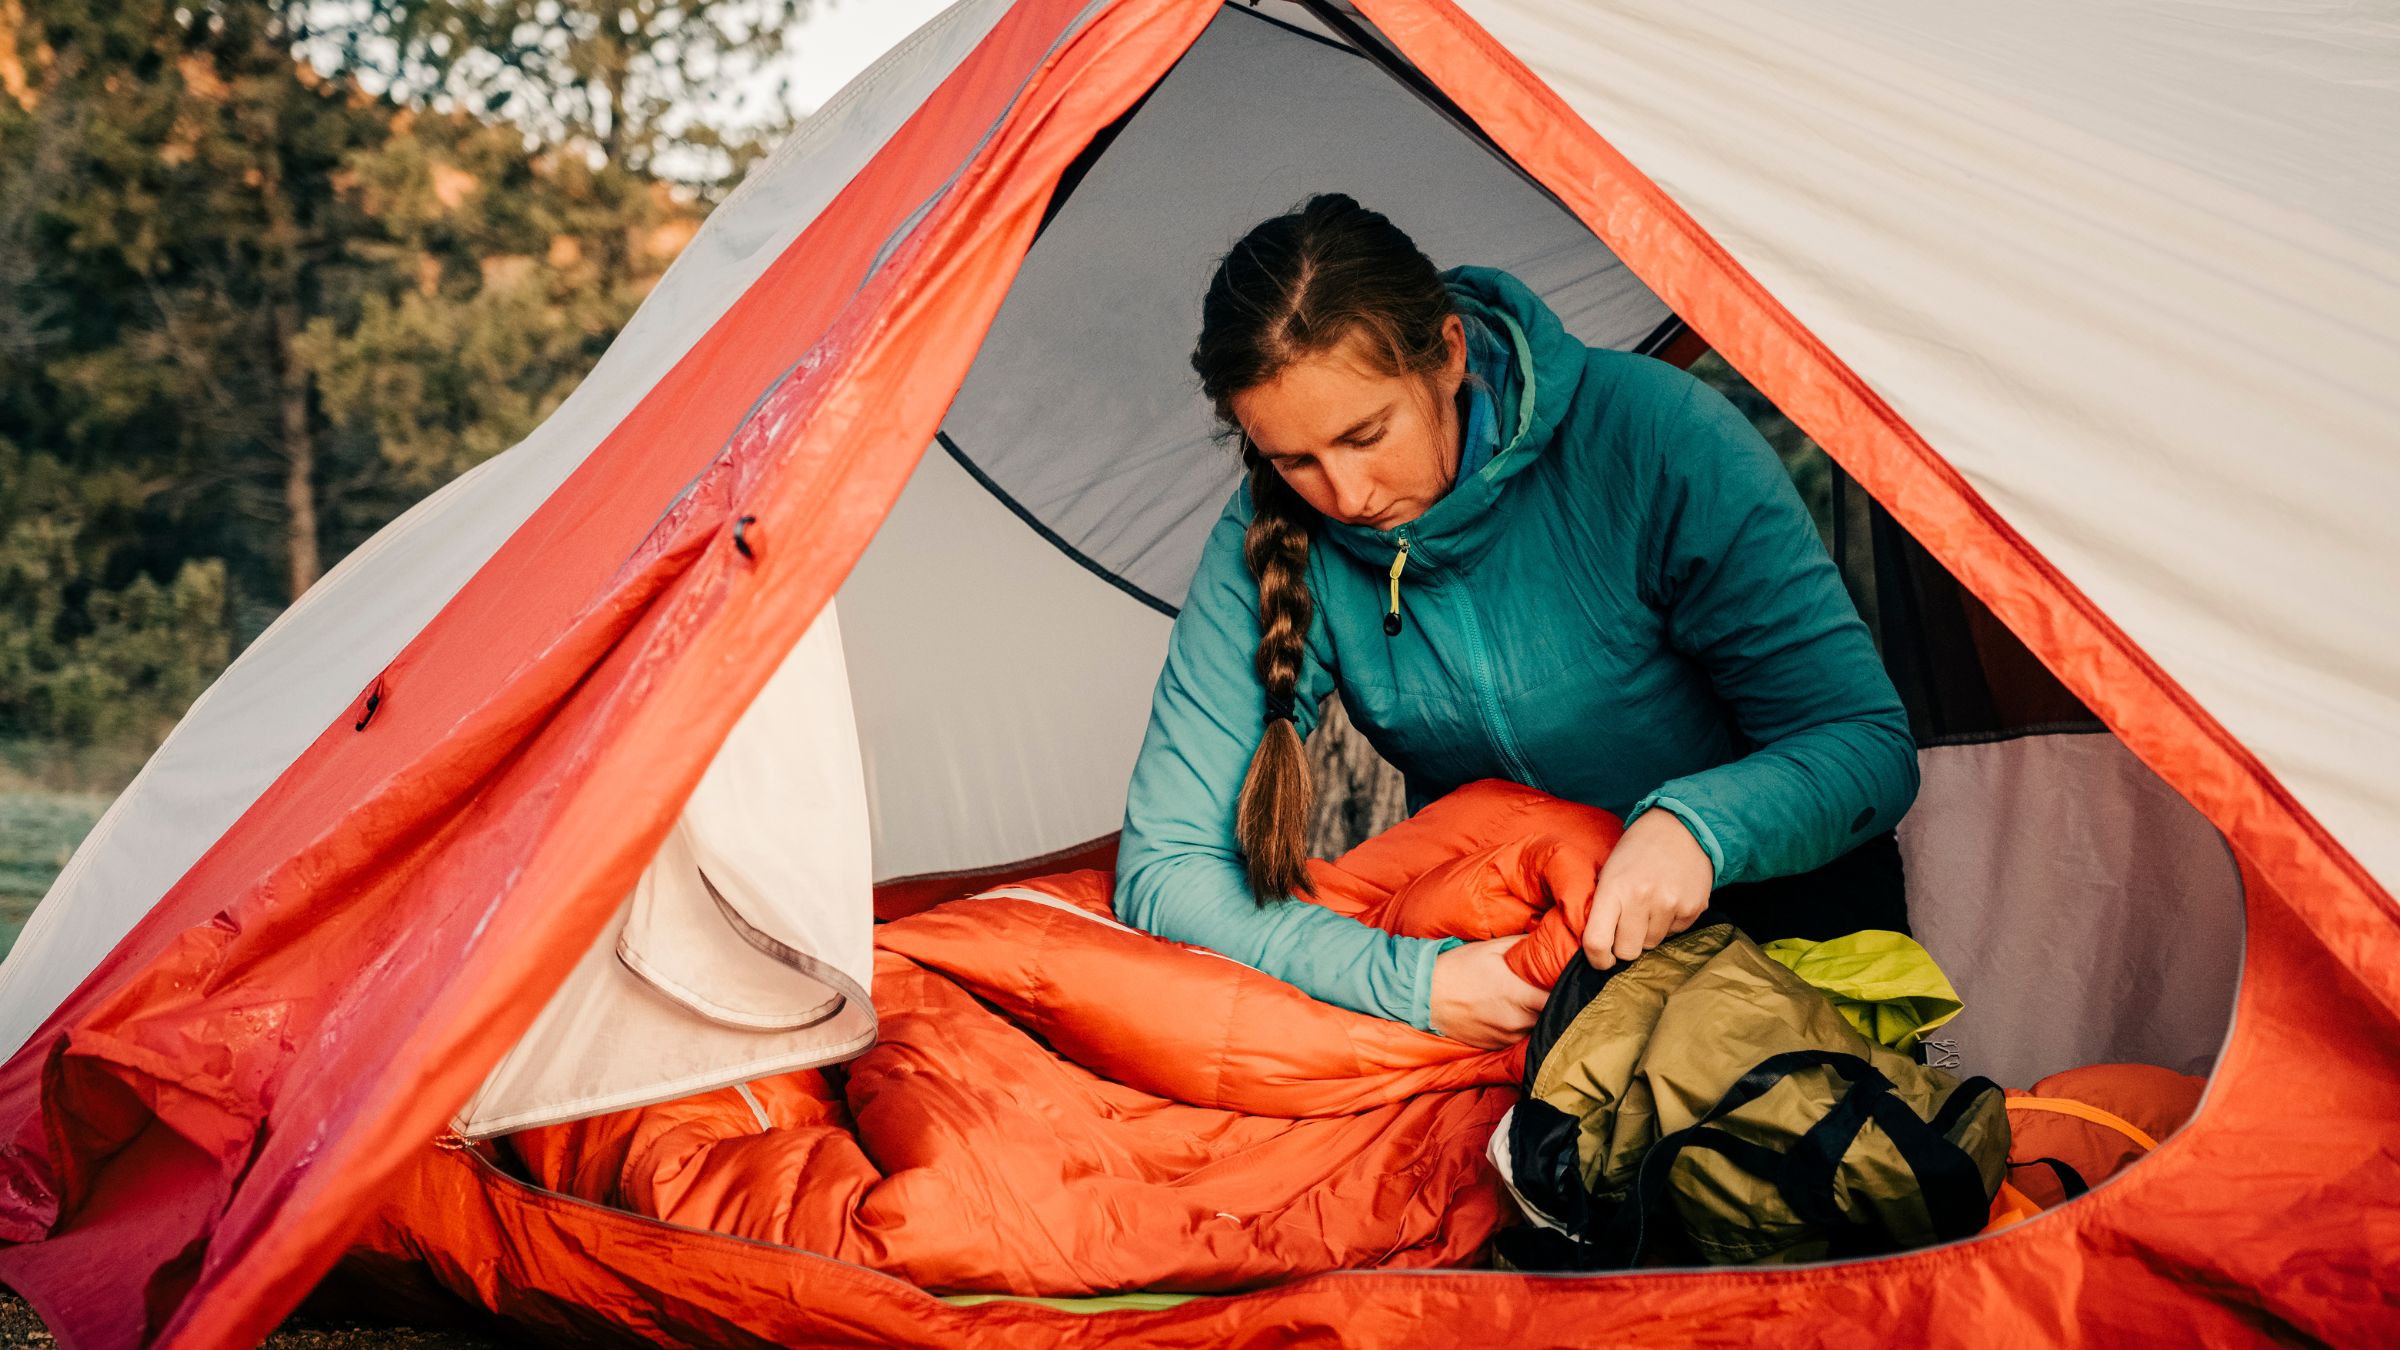
Taking the time to properly clean, dry, and store your sleeping bag ensures that your insulation stays lofty and warm for years of adventure. (Photo: Getty Images)
Sleeping bags are designed to be dragged across tent floors, stuffed into packs, and slept in for nights on end without a proper wash. They absorb sweat, dirt, campfire smoke—and sometimes all three at once. For a piece of gear that’s made primarily of lightweight nylon and down feathers, it’s amazing how much abuse it can take.
Still, your sleeping bag needs a little TLC if you want it to last as long as possible. Some post-trip care—such as proper washing, drying, and storage—can mean the difference between years of use and an early replacement. Here’s how to keep it off your shopping list and out of the landfill.
Sleeping Bag Care: Fast Facts
- Always use a front-loading washing machine. Top-loaders with central agitators can snag or tear the fabric.
- Use the lowest heat setting possible to dry. High heat can melt the synthetic fibers or the nylon shell, ruining the bag.
- Toss two or three clean tennis balls in the dryer to break up clumps of wet down or synthetic fill and restore loft.
- Never store your bag in its small compression sack long-term. Constant compression crushes the insulation fibers, permanently reducing their ability to trap heat.
- Store your bag in a large cotton or mesh laundry bag. This allows airflow and lets the insulation stay lofted, so it’s ready for your next trip.
Washing Your Sleeping Bag—But Not Too Often
If your sleeping bag has been sitting for a while—especially compressed—start by airing it out.
Fully unzip it and let it rest in a dry, shady spot. Give it time to breathe, release any lingering moisture, and hopefully loft back up on its own. In many cases, that alone is enough to revive a bag that feels flat or musty. But we wouldn’t blame you if you want to give it a proper wash, too.
A dirty sleeping bag isn’t just smelly; it also performs worse. Oils, sweat, smoke, and dirt can clog the inner and outer fabric and work their way into the insulation, reducing its ability to trap heat. And excess moisture can cause mold or must to develop.
ADVERTISEMENT
First, spot-clean high-contact areas like the hood and collar with a solution of baking soda and vinegar. If it’s time for a full wash, use a front-loading machine at home or a laundromat (as long as it doesn’t have an agitator). Zip up the zippers so they don’t get bashed in the drum.
Then, put the wash on a cold, gentle cycle, and add a tech detergent like Nikwax Down Wash or Grangers Down Wash for down, or Nikwax Tech Wash for synthetics. Follow measuring instructions on the bottle. Skip fabric softeners and regular detergent as they can damage the fill.
You can also wash your bag by hand in a tub or basin filled with lukewarm water. Fully immerse your bag and knead it gently with the tech wash. Rinse with cold water.
For sticky zippers, use a toothbrush to clean the teeth, then apply Gear Aid Zipper Lubricant or beeswax, which will allow the slider to move easier.
Treat washing as occasional maintenance at the end or beginning of camping season, not routine care, as every full wash puts stress on the materials. The same goes for drying.
ADVERTISEMENT
Patience and the Art of Drying a Sleeping Bag
Drying your sleeping bag is the step that requires the most patience. Once rinsed, your bag is going to be heavy with water. Carefully remove it from the machine to avoid snags or snaps of the stitching on the machine. Then, set your household or laundromat’s tumble dryer to the lowest heat setting.
ADVERTISEMENT
This might take multiple cycles and several hours, but higher heat can melt materials. Toss in a couple of clean tennis balls or dryer balls to help break up clumps and restore loft as it dries.
Rushing this step is one of the easiest ways to ruin a bag.
Store It Out of the Stuff Sack
The biggest threat to loft? It’s not dirt or heavy use. It’s how you treat your bag when you’re not using it. Leave a bag—regardless of fill—stuffed in its sack for many months and it starts to lose its ability to bounce back. Fibers flatten, and with them, insulation potential. Over time, a bag that once puffed up into a thick, warm cocoon starts to feel thin, uneven, and cold.
Before stowing your bag for the season, let it dry—from washing or moisture—completely.
ADVERTISEMENT
Then rather than rolling it tightly, cramming it into a stuff sack, or sealing it in a plastic bin, keep it in a large, breathable sack—or even a pillowcase—in a cool, dry place. Closets are better than garages. Avoid heat, moisture, and long stretches of compression. You can also hang it up, folded over a sturdy and padded hanger, though creasing can cause damage over time.